Top Social

Picture Life

with embellishments...and rain drops!

Image Slider

Quick Quotes Blog

Happy Mother's Day!

Thursday, April 30, 2015
Mother's Day is around the corner, have you started making any cards yet for Mother's day yet? If you are not, not to worry I have this card to share with you today! Hopefully it gives you some inspiration to make one for your beloved mom this coming special day! 

I used one of the rose stamp, stamped it in different tones and colors. Outlined them with black markers and colored the white background in bright gold (although it looks a bit like yellow). The center square was masked out for sentiment later, the sentiment which is also JFF's stamp. It gives you kind of a dimensional feel although it's an one layer card. 

The embellishments are paper flowers, to add more dimensional look to the card.


Check out the brushed rose stamp below and the square frame, aren't they fantastic combination to create card?

Just For Fun Rubber Stamps Used:
- Brushed Rose
- 2 Sided Doodle Background/Frame, Lg.
- Happy Mother's Day Sentiment

I hope you like it! Happy Mother's Day and thank you for visiting my blog today!

Mail Holder/Organizer

Saturday, April 18, 2015
Spring is finally here! Love the warm weather and flowers, feel so alive and happy. It also mean it's time for Spring project! Let's take a look at the project I want to share with you today, it's a mail holder/organizer using A7 Kraft Envelopes! Now this help to keep my table cluster-free! Also, don't forget to check out the sale this week, more reason to make this cute mail organizer (just saying). hehe.


You don't need any cutting file to make this, only adhesives, envelopes and flower embellishments. I created mine in four different categories, you can add more categories as you please. 


Here is the step-by-step tutorial to make this mail organizer:

Step 1: Prepare four A7 envelopes and four punched colored card stock (height wise, slightly larger than the envelope)

Step 2: Glue the colored card stock to the front of the envelope, do this to all four envelopes.

Step 3: Now connect the result from Step 2 together by adhering the envelopes on top of each other on the flap end of the envelope

Step 4: This is what you should get from Step 3, I embellished mine with doilies too on each pocket of the envelopes.

Step 5: Embellish with paper flowers and label each pocket! 


Now you have a fully functional mail organizer/holder, no more mail cluster on table. :) I hope you enjoy this project and find it inspirational to make one for your home! Thank you for taking your time to visit my blog today, I hope you have a wonderful weekend. Happy Creating! 

CutCardStock Products Used:
   

You Are Amazing

Thursday, April 16, 2015
Loving this new circle stamps from Just For Fun, it's so fun to create card background such as following. And not just the background, look at the Chevy's stamp it's so very cute too! If you are making card for him, this is perfect!

I stamped the background using different colors of dye inks and colored the Chevy with alcohol markers. Fun and easy to create! 


Just For Fun Rubber Stamps used:
- 2 Sided Doodle Background/Frame, Large.
2 Sided Doodle Background/Frame, Small
'57 Chevy

I hope you like this card, don't forget to explore other new stamps available in store HERE!

Life Is a Journey Mini Album

Wednesday, April 15, 2015
Hope you are having a good day! This is Alexia here and I want to take some time to say thank you to all of you who have been following my posts or projects here on this blog. This will be my last post/project for Clear Scraps' Creating Made Easy Club, due to some personal reason I have to leave this amazing team before the term ends. I also want to thank Clear Scraps for giving me this opportunity to create using their beautiful kits, I love the acrylic products so much. Thank you to all the team members and Cristal (Pinky), for helping me out when I needed guidance. I wish you all the best and can't wait to see more of your work here on the web! 

Here is the last project from me, a mini album with title "Life is a journey".

The front of the mini album, love the chipboard embellishment stickers. 

 Inside pages


This is the back of the mini album

NOTE: Ribbons not included in the kit.

To purchase this kit, go to Creating Made Easy kit club online store HERE. I hope you enjoy making this mini as much as I do. Life is a journey and I wish your journey is filled with joys and happiness and it's a memorable one. 

If you still like to follow my work, you can visit my blog at anytime here - Alexia's Blog. Thank you for all your support, I greatly appreciate it. I wish you have a great day and don't stop creating! :)

Initial Home Decor

Sunday, April 12, 2015
Hello all, how is your weekend? I'm here to share a home decor project with you, an initial wall hanger! This 12x12 heart shape acrylic is so cute and perfect to create a wall hanging home decor for your house. I created this with our initial in it "M" and I hang it on the wall in our living room. 

Here is the project that I'm talking about. I think it will look better on a black background for this picture. 


If you are curious about how to make this, it's actually very easy. I stamped it with flower stamp using acrylic paint. 


Embellish it with colored paper flowers and chipboard stickers. Of course if you prefer, a cut-out initial too. :)

Some close up shots


Easy and quick home decor project you can do within half an hour! If you are interested in making this, you can purchase this kit from Creating Made Easy's online store HERE.

Thank you for visiting the blog today and checking out my post, I hope you have a fantastic day and happy creating to you! - Alexia

Stamped Acrylic Layout

Wednesday, April 8, 2015
Good day to you! This is Alexia here and I'm here with my second project for the month using April kit! Today's project is a layout created using the fabulous kit, love the color palette of this kit it has the smell of Spring!

I stamped the heart shape acrylic using paint and a stamp that reads "imagine" and layer it over another similar cut out heart shape. I think the stamped image on the acrylic really pop on a green background, what do you think?


The chipboard stickers are perfect for this layout, they coordinate well the color of the patterned papers in this kit. 

I just love the buttons, arrow and the bubble!


If you like this kit, you can grab it from the Creating Made Easy Kit Club's online store HERE. I hope you like this project and it gives you some ideas to create one! Thank you for visiting and have a great day! - Alexia

Custom Birthday Invitation with Stencil

Saturday, April 4, 2015
It's another Friday, how time flies! It's my turn to post today and I want to show you how to create a custom invitation (birthdays, anniversary, shower, etc) with matching envelopes using CutCardStock's white recycled card stocks and A7 envelopes! I will share the tutorial with you to make this project, it's fun to make and it looks elegant too for all sort of occasion invitations. When my children getting a little older I'm going to have them help me make a bunch of these, they love playing with inks!

And yes, it's also a freebie Friday! I will provide you the stencils, and templates to print the address on envelope and information on the invitation card. All you need to do is use the stencil to create the patterns, I can assure you this won't take much of your time. :) Before we start, don't forget to check out the sale this week on 
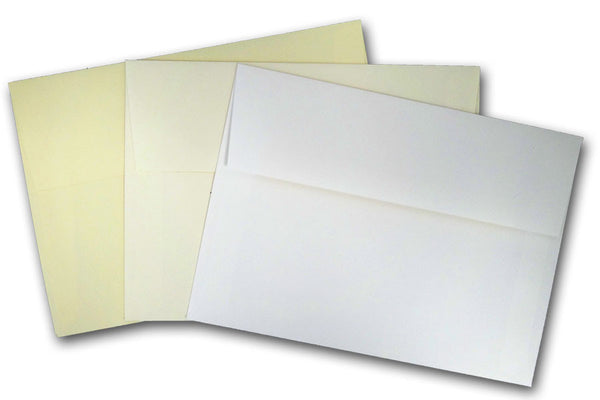
recycled card stock and invitation envelopes!


How to make:

Step 1: Trim recycled card stock to 5" x 7" in size.

Step 2: Draw the outer frame using the Zig Zag Black Pen from CutCardStock


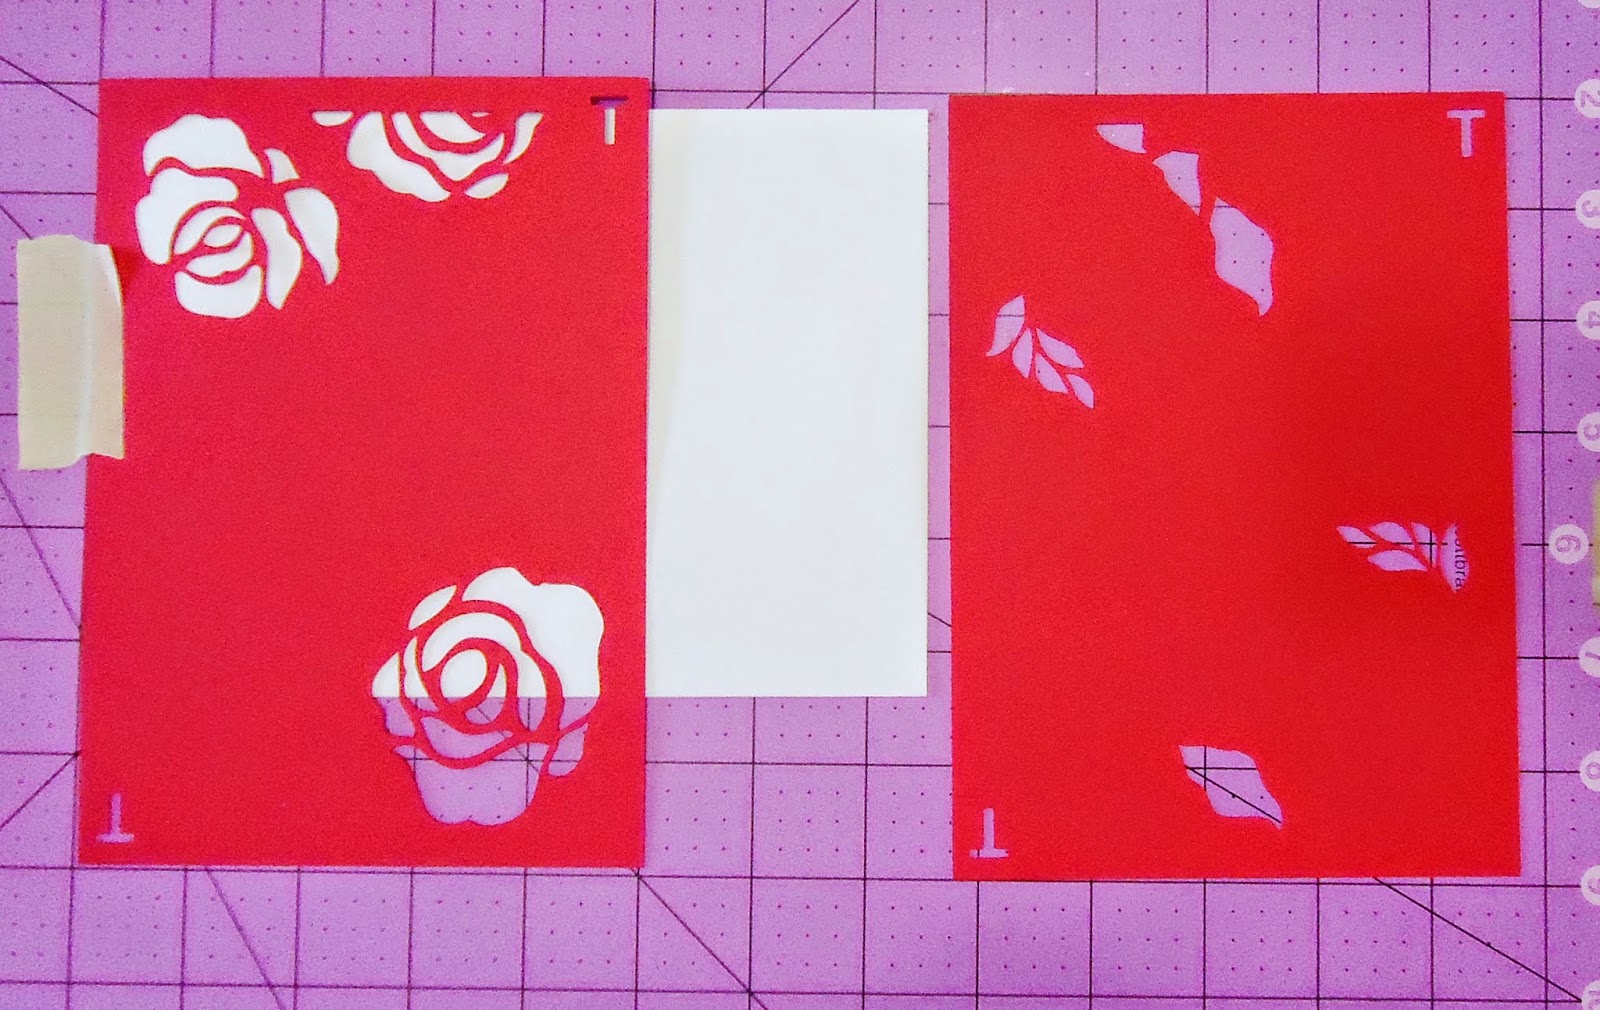
Step 3: Download the cut file and cut the images. Both files are already set to size 5" x 7" so all you have to do is place this over the white card stock from Step 2 and start stenciling.

Place cut out image (the petals only) over the white card stock and start stenciling.

After you are done with the petals, now start with the leaves. When you are finish this step, remember to draw the inner frame (refer to Step 2).

Here is what you will get from this step.

Step 4: Move on to creating the matching envelopes, the step is more or less the same only that you have to manually line up the stencil to the edge of the envelope for stenciling.


Step 5: It's time to make use of this invitations! Download the template for the invitation card and envelope! Print the card like you would for any other printing. However, remember to feed the envelope with the pattern facing downwards and flap on the left such as shown below.

Here is what you would get, a ready-to-go in the mail custom invitation!

And the invitation card (adjust the spacing on the template if you like)

CutCardStock Products Used: 


Download files here, for personal use only thank you!

Thank you all for checking out my post today, I hope you like this customized project! Wish you have a great weekend, happy creating! - Alexia

Auto Post Signature

Auto Post  Signature