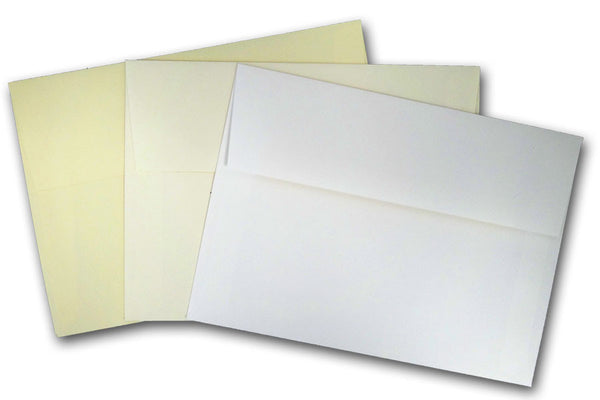
It's another Friday, how time flies! It's my turn to post today and I want to show you how to create a custom invitation (birthdays, anniversary, shower, etc) with matching envelopes using CutCardStock's white recycled card stocks and A7 envelopes! I will share the tutorial with you to make this project, it's fun to make and it looks elegant too for all sort of occasion invitations. When my children getting a little older I'm going to have them help me make a bunch of these, they love playing with inks!
And yes, it's also a freebie Friday! I will provide you the stencils, and templates to print the address on envelope and information on the invitation card. All you need to do is use the stencil to create the patterns, I can assure you this won't take much of your time. :) Before we start, don't forget to check out the sale this week on recycled card stock and invitation envelopes!
How to make:
Step 1: Trim recycled card stock to 5" x 7" in size.
Step 2: Draw the outer frame using the Zig Zag Black Pen from CutCardStock
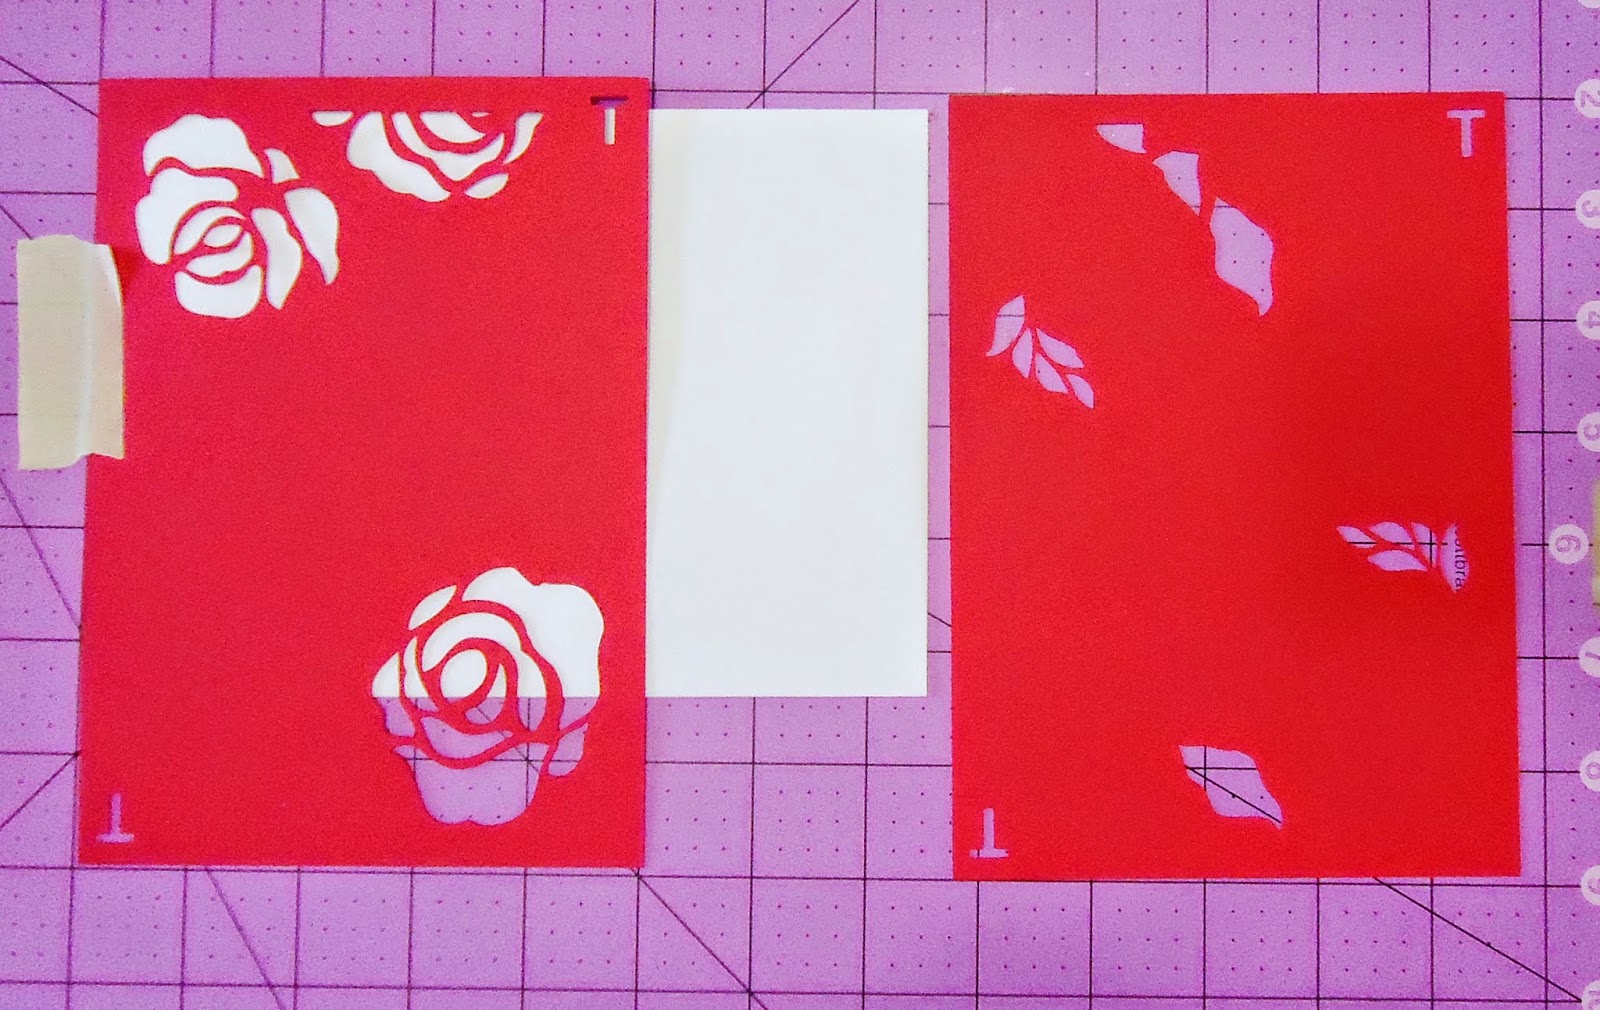
Step 3: Download the cut file and cut the images. Both files are already set to size 5" x 7" so all you have to do is place this over the white card stock from Step 2 and start stenciling.
Place cut out image (the petals only) over the white card stock and start stenciling.
After you are done with the petals, now start with the leaves. When you are finish this step, remember to draw the inner frame (refer to Step 2).
Here is what you will get from this step.
Step 4: Move on to creating the matching envelopes, the step is more or less the same only that you have to manually line up the stencil to the edge of the envelope for stenciling.
Step 5: It's time to make use of this invitations! Download the template for the invitation card and envelope! Print the card like you would for any other printing. However, remember to feed the envelope with the pattern facing downwards and flap on the left such as shown below.
Here is what you would get, a ready-to-go in the mail custom invitation!
And the invitation card (adjust the spacing on the template if you like)
CutCardStock Products Used:
Download files here, for personal use only thank you!
Thank you all for checking out my post today, I hope you like this customized project! Wish you have a great weekend, happy creating! - Alexia


Post Comment
Post a Comment