Top Social

Picture Life

with embellishments...and rain drops!

Image Slider

Quick Quotes Blog

Snowflakes Party Label

Friday, December 26, 2014
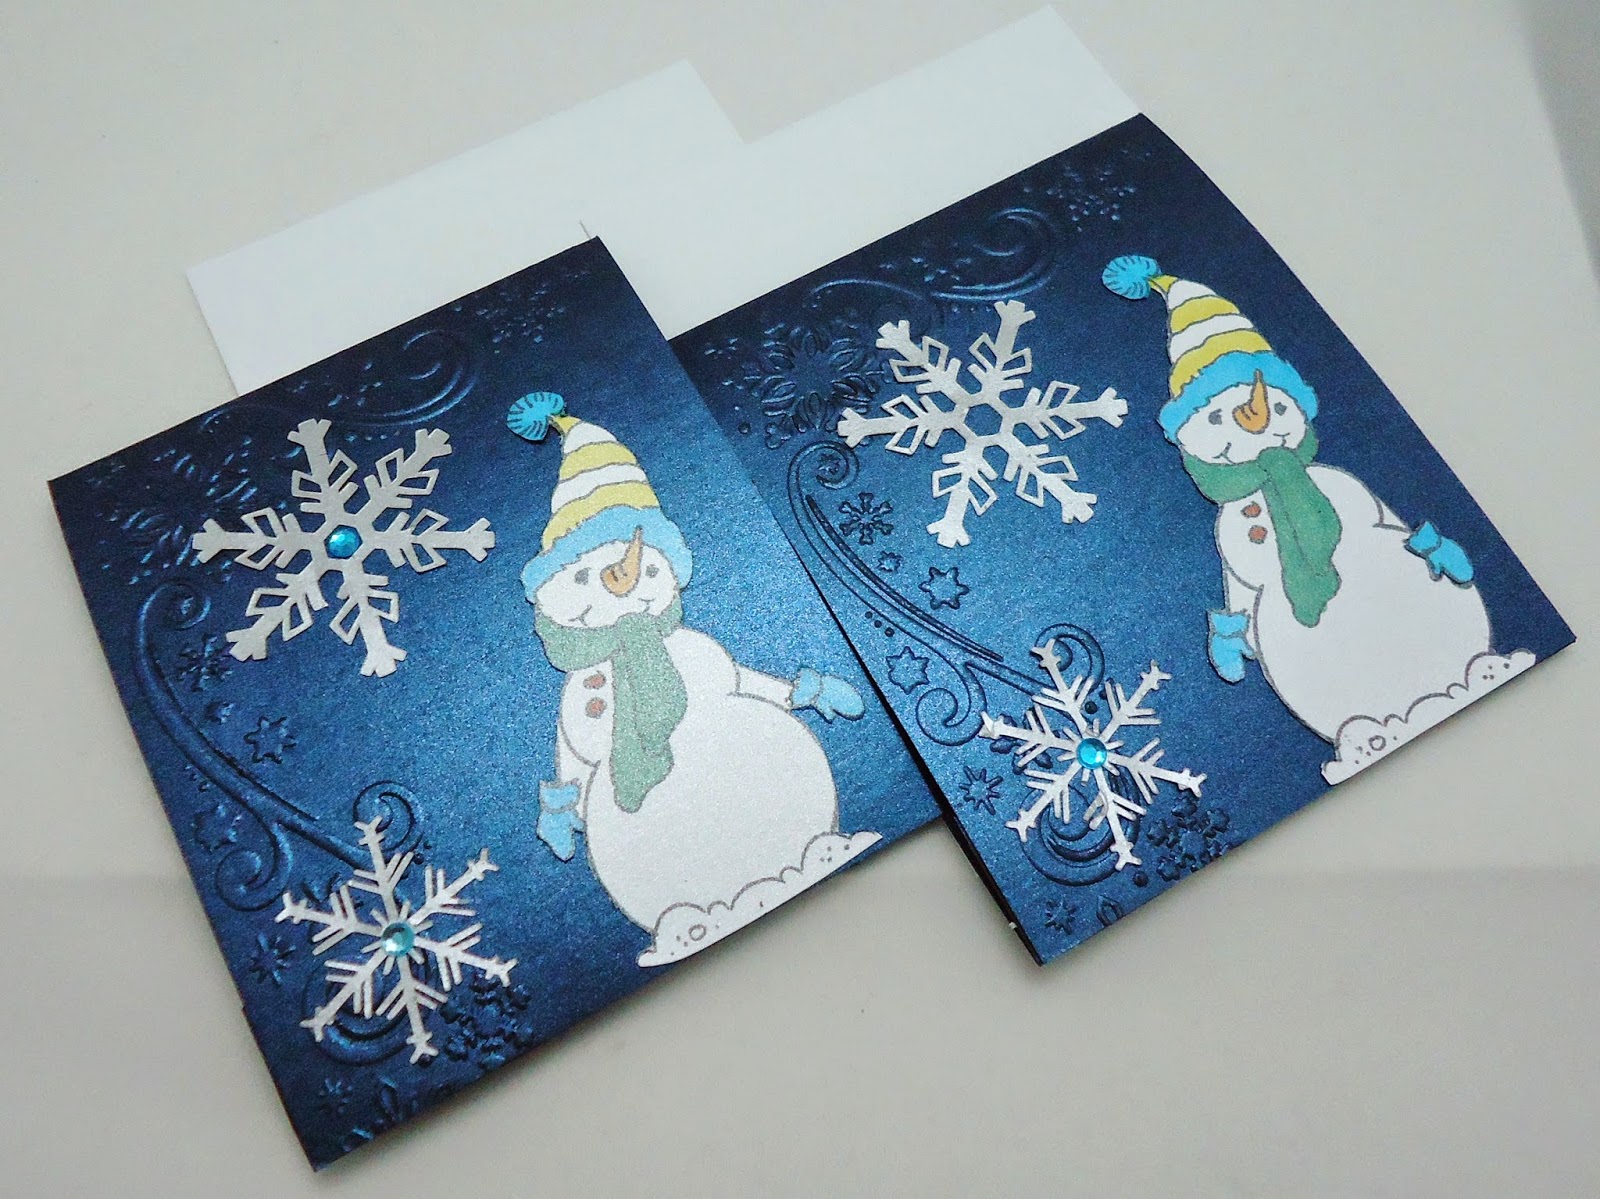
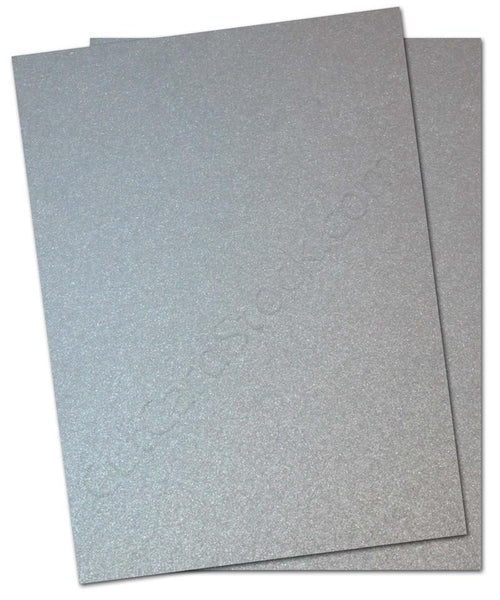
Hello all! I hope you had a wonderful Christmas, my family and I had a great time yesterday! Just popping in today to share a DIY party project with you! I created these snowflake themed party labels to be used as gift labels or cupcake toppers! The Stardream Metallics cardstocks are so perfect for this, can't tell you how much I love the shiny surface of the card stocks! And I found myself fell in love with this Blue Bell Metallic color, perfect for winter projects. 

For this project, you can always change the label to something else such as Happy Birthday, Bridal Shower, Happy Anniversary, etc to fit your theme! It also can be easily turned into a cupcake topper by simply apply a trimmed skewer to behind the snowflake, and of course you might also want to make a smaller version of snowflake than the one displayed below. Please find tutorial below, and did I mention I will be sharing this cut file with you for free (please, it's only for personal use! Thank you!).


Tutorial Starts Here:

Step 1: Download and cut the svg files provided at the end of post. The svg file provided makes two labels/toppers, cut twice to make four.


Step 2: Download and print the word document provided at the end of post, manually cut out the banners. This document already have banners enough to make four labels/toppers. To make more than four, simply copy and paste.


Step 3: Assemble the cut out pieces. Adhere the medium size snowflake onto the largest snowflake cut out followed by the star to the medium snowflake using double-sided foam tapes.

Step 4: Using foam tapes, adhere the banners from Step 2 to the result from Step 3.


 CutCardStock Products Used:


Download SVG File (Cameo User): HERE
Download Word Document: HERE

Thank you for stopping by today, I hope you like the project above and enjoy making it! Enjoy your holidays and time with loved ones! See you next year! :) 

Holiday Card Ideas

Tuesday, December 16, 2014
Good day all! Thank you for taking your time to check out Clear Scraps' Creating Made Easy Blog today! It's Alexia here and today I want to share some holidays card ideas with you! If you have created some bigger projects and have plenty of scraps left and don't know what to do, here is what you can make! Turn them into greeting cards! 


I used the snowflakes maker on this one too, perfect for the background. It looks like falling snows!

This is Merry and Joy card, simple yet elegant! And it's easy to make! I even used one of those scrap acrylic pieces and turned it into the sentiment panel. Looks great!

Another quick and easy card, Merry Christmas! Love the snowman, it's so cute!

I hope you love these card ideas! 

Not included in the kit: Sentiment stamps.

Looking to purchase this December kit? Go to Clear Scraps Creating Made Easy Store

Thank you for stopping by today, happy creating! -Alexia

Christmas Stocking Ornaments

Monday, December 15, 2014

Hello all! I hope your Monday blue isn't so bad today because I'm going to share a Christmas project with you today! This project is part of Xyron's 30 Days of Holiday project! Tomorrow is the last day of this event, if you missed some of the projects, go to Xyron's FB page and you will be able to find all the project inspirations there. 

Here is the project I created, paper stocking ornaments! I absolutely love it because I this is my first Christmas tree and I'm able to DIY some ornaments for the tree! DH got this dual-color pre-lit Christmas tree, yep, it's not real Christmas tree. I think I have enough house chores so I don't need to clean more fallen leaves from a real Christmas tree. hehe. Besides, it looks just like a real tree! I love it. My kids just sat next to the tree for hours just to admire it, I know...I have the same excitement too! :D

If you like the following project, remember to check out the tutorial too! ;)


Tutorial starts here:

Step 1: Download the cutting files at the end of this post and cut the Christmas stocking shapes with your cutting machine.


Step 2: Since I want a stronger base, I take two same shape and stick them together using Xyron's Creative Station.


Step 3: Use a cut out strip of paper (as shown on the right in the picture below), fold along the dotted lines. Apply adhesive around the Christmas stocking and glue this strip around it to form a box. 


Step 4: Trim a ribbon, fold in half and use a staple and staple it to the stocking.

Here is the end result. Yes! It's that easy!


Xyron Products used:

Other Products Used:
- DCWV Christmas Glittered Card Stock
- DCWV Christmas Card Stock
- Celebrate It Merry Christmas Ribbon
- CutCardStock Cougar White Card Stock 


Thank you for visiting my blog today, I hope you have a Happy Holidays! Merry Christmas and Happy New Year! 

Winter Themed Birthday Invitation

Sunday, December 14, 2014
It's snowing as I'm typing this, love the snow in the winter although I don't like the cold. I know, it's so ironic! The project I'm sharing today is also something to do with snowflakes, it's birthday invitation for those who born in the winter! I will also share a tutorial and the invitation template for you to create this winter themed invitation! Check out the free file for download at the end of this post.

So here it is, birthday invitation created using Stardream Metallics card stocks. I'm so in love with the shininess of the card stock, it's perfect for making any kind of invitations because it looks so elegant. For this invitation I used Sapphire (blue), Silver and Crystal (white) card stocks. 


 This is the inside of the invitation, I also used the magnetic tape for the opening/closing flaps.


Envelopes from CutCardStock which is the perfect size for this invitation card. Now they are ready to go out in the mail!


Step by step tutorial on creating this invitation card:

Step 1: Download the SVG file and the template word document. Cut svg file (for cameo users only) and print the word document.


Step 2: Trim 8-1/2" x 11" size of card stock in half vertically (should result in size 4-1/4" x 5-1/2"). Run the card through Big Shot using Darice embossing folder, you can use any embossing pattern that you prefer.


Step 3: Score embossed card at 5"and 10" as shown below, leaving an inch for the magnetic tape. The magnetic area also servers as card stand.You can actually make it without using magnetic tape, then you will have to score once at 5-1/2" like you would when making a regular card.


 Step 4: Apply magnetic tapes on the top and bottom of card.


Step 5; These are the cut out shapes and printed invitations, adhere to card and embellish card with cut-out snowflakes. Note: I also cut out a Silver Stardream Metallics square and use it as mat for the printed invitation.


Step 6: Adhere RSVP circle above to the center of the cut-out snowflakes, then adhere the snowflakes to the card.


Step 7: Embellish card with blings and stamped image (I embellish mine with stamped snowman and colored them with Spectrum markers).


I hope you like the project I shared today, to download the files click each link below.
Download SVG file HERE
Download Invitation Template HERE

While you are here, don't forget to check out the sale that is going on at CutCardStock! This includes the blank invitation cards and more, see HERE.


CutCardStock Products Used:
 

Thank you again for visiting CutCardStock blog today, I hope you have a wonderful day! Happy Creating! 

Christmas Banner 2014

Saturday, December 13, 2014
Hi all! It's Alexia here. Today I'm here to share with you a Christmas banner I created for Clear Scraps Creating Made Easy DT using their December kit! Love the acrylic banner, so much possibilities you can do with it! And here is my version. I took pictures of it of two different backgrounds, can't decide which is better due to the lack of light lately so I show them both. The light reflected the patterns of the cardstock on the back of the banner as shown in the second picture.
DSC03270

DSC03245

Luckily I was able to capture couple close-up pictures for each of the acrylic shapes. The center piece for the banner, how cute?! I love that it's a shape of a house, so adorable!
DSC03278

I applied the faux snowflakes around the snowflake acrylic shape, I love the texture!
DSC03246

This was taken on a white background, can't see the faux snowflake around the shape as clear as the one above.
DSC03275

Adhered card stock to the back of gingerbread man acrlic shape and decorate the front with card stock stickers.
DSC03281

DSC03279

I cut out one of the ornament shapes from the acrylic border strip and use it as embellishment on this gingerbread man.
DSC03277

DSC03276

I will leave my banner up by the window since we don't have a fire place (I think it would be the best place to hang the banner). Where do you plan to hang yours? :) I hope you like this project!

Not included in this kit: Paper flowers and the ribbon to hang the banner

Like this banner for Christmas? Grab this kit here: Clear Scraps Creating Made Easy Kit Club
Thank you for visiting and I hope you have a fabulous day! 

Merry Christmas Mini Album

Thursday, December 11, 2014

Hello all! Today I'm sharing one of two Holidays projects I created for Just For Fun Rubber Stamps for the cross promotion with Altered Pages. I love the products from both companies, they are such a perfect combination to create this mini album. Thank you Altered Pages for the products they sponsored to make this project!

This is the front of the mini album, to create the distressed look around the cover I used the Momento Dew Drop ink pad from Altered Pages. Mixed the ink with modeling paste and gentle apply on all edges of the mini album's cover. The star border is embossed in gold embossing powder to create the shiny look. 


Here are the pages inside the mini album:

Page 1 - Stamped ornament image from JFF on the pocket envelope from Altered Pages


Here is the nested page for the above


 Page 2 and 3 - Picture on the left page and note on Page 3. Stamped sentiment from JFF 'Tis the season' on the tag from AP. Love the collage print from AP too, great for embellishing mini album.


Here are the nested pages for the above, more rooms for pictures!


Page 4 and 5 - Picture on the left and right pages (the space for pictures is inside the nested pages shown after this image). Stamped poinsettias from JFF.


Here are the nested pages for pictures 


Page 6 and 7 - Open space for pictures


Page 8 and 9 - Decoration on the left page and space for picture on the right (lift the embossed page up to see the pages inside)


Here is how it looks like when the page above is lifted. A small area for putting down notes/details.


Open the notes/details page to discover the pages for pictures.


Page 10 and 11 - More area for notes and details on the left page - a hidden pull out tag and a hidden envelope where you can pull out from the top (see picture after this image).


Here is the second area for note or picture! The right page is a folder made with corrugated paper to serve as storage for pictures! Any extra pictures that can't fit go in here.


Close-up look for the folder


Page 12 and 13 - A picture on the back of the folder - why not?! hehe


Flip the page on the right and here are more nest pages inside, more rooms pictures!


Page 14 and 15 - Left page for picture and right is for notes! Hidden pull out tag with stamped Joy Stamp from JFF!


When the tag is inserted into the envelope (from AP)

Page 16 and 17 - More space for pictures and notes!

Page 18 - 19

Page 20 - 21 - A pocket for storing pictures or any sentimental items. Opening/Closing flaps are created using magnetic tapes.

This is how it looks like when the pocket is closed.

That's it! I hope you enjoy the mini album I share with you today. :) 

Products used for this project:

Thank you for stopping by! 

- Alexia

Auto Post Signature

Auto Post  Signature