Top Social

Picture Life

with embellishments...and rain drops!

Image Slider

Quick Quotes Blog

Holidays Cards and Layout

Saturday, November 29, 2014
Happy Saturday everyone! I hope you are doing great and enjoying the weekend. Today I want to share few more Holidays projects with you! I made two cards and a layout using CutCardStock's card stocks, I have used card stocks from many different brands but I love CutCardStock's products far most.

Since it's Holidays projects that I'm sharing today, the focus of products used will be red, green and white. First lets take a look at the cards I created for today's post, the Christmas tree image and sentiments on both cards are letter-pressed on #110 lb White Card Stock.


The white card stock is great for both letterpress and dry embossing.


The second project today is a layout, picture of my son and daughter. I love the red card stock so much on this one, it makes the entire layout pops and so are the snowflakes! The snowflakes are cut outs using Curious Metallic Iced Silver Card Stock. It's like a layer of silver coating over a white card stock. Love it!

Here is how I created this layout:

Step 1: Prepare a 12x12 patterned card stock and embellish it with an embellishment banner and cut a longer banner using green card stock from CutCardStock.

Step 2: I embossed the red card stock for the background


Step 3: Adhere the embossed card stock from Step 2 on the patterned card stock. Cut a green card stock and use it as a mat for the picture. Start embellishing layout.


Step 4: Cut two strips of ribbons and embellish them on the top and bottom of the embossed red card stock. 


Step 5: Apply glitter on the wood veneer Christmas tree using glitter pen from CutCardStock, I can't believe how easy it is for this step.


Step 6: Using my Cameo, I cut out some snowflakes in different sizes and use them on the layout as embellishment.


That's it! Here is my final layout looks like:


It says SANTA is coming to town!


CutCardStock products used for cards:


CutCardStock products used for layout:


I hope you like my projects today, thank you so much for your time and I hope you have a fantastic weekend!

Congratulations Card

Sunday, November 23, 2014
Just sharing a card with you today, created and submitted this to the Stamp and Ink It contest not long before they announced that there will be no more publication in the future. It's sad but on the other hand I won't have to get nervous about not sending in any entry, I had been trying for awhile but never get picked. Perhaps I'm just not that good at making cards. lol. Actually, I personally think that we don't need to be published to  be recognized as a good card maker although having our work published is kind of a self-achievement. :) 

So here is the card, do you have a lot of file reinforcement rings on hands? Here is how you can turn them into a card!


It's a simple card and the process isn't too difficult so you might want to try this out out yourself.

Products used:
- CutCardStock Kraft Card Stock
- CutCardStock Cougar White Card Stock
- File Reinforcement Rings
- Momento Dew Drops 
- Studio Calico Wood Veneers (Arrows)
- Studio Calico Clear Stars Embellishments 
- Simon Says Stamp (Congratulations)

Thank you for visiting my blog today, I hope you have a great day!

Turkey Bowl for Thanksgiving

Tuesday, November 18, 2014

Hello all, Happy Tuesday! Since Thanksgiving and Christmas are approaching, Xyron is sharing a lot of Holidays project ideas on their Facebook Page, don't forget to check them out! The project that I created for this event is a Turkey serving bowl with you along with the tutorial to create this cute little bowl.

First lets take a look at the Turkey bowl I'm talking about! It's so cute you can use it as home decoration or serving food on the table! It's easy to make, economical and you can make several of this and use it on Thanksgiving dinner - filled it with gravy and or dip sauce! Yumm....!


Tutorial Starts Here:

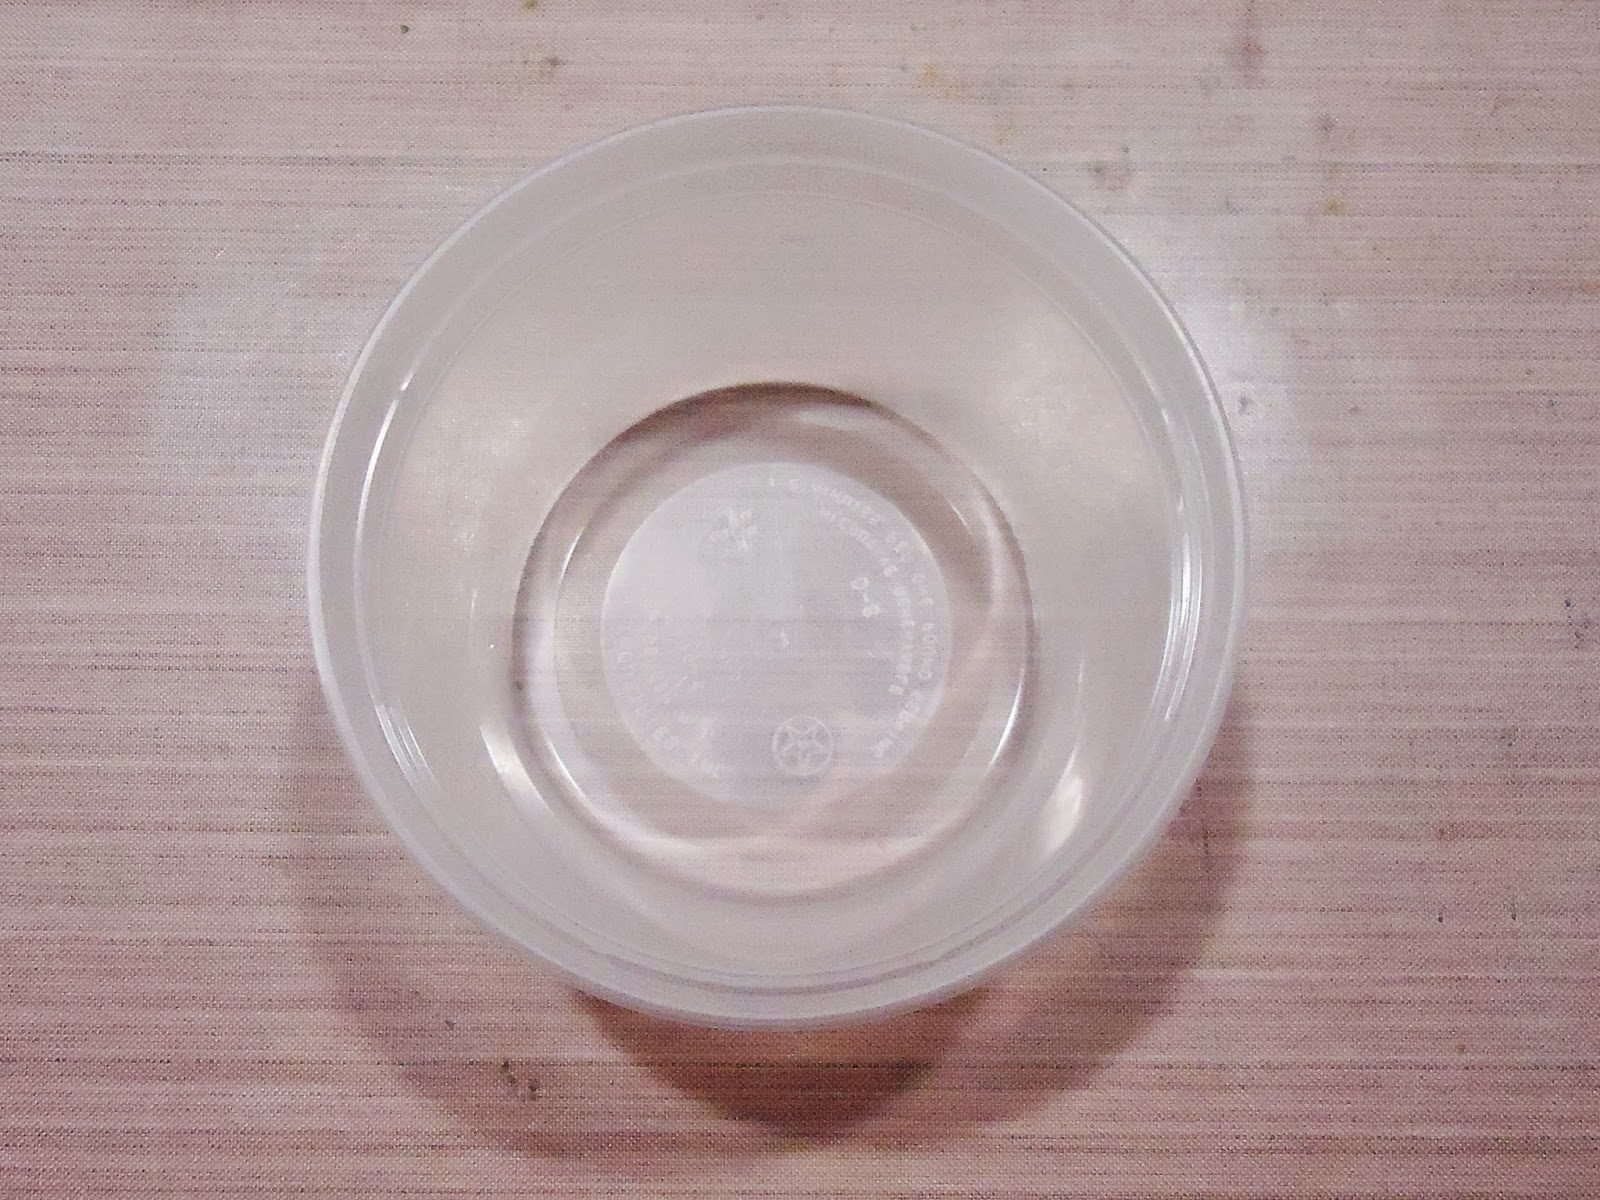
1. Prepare a plastic container that you usually get from take-outs.


2. Using your cutting machine, cut the Turkey feathers and the Turkey image.


3. Run the paper feathers (brown patterned card stock) through Xyron Sticker Maker and stick them on the orange patterned card stock.


Step 4: This is the result from Step 3. Now use a Xyron Mega Runner, stick all individual feather together to form a turkey's tail.

This is completed turkey tail.


Step 5: Decorate the bowl, run patterned paper through Sticker Maker and stick them around the bowl. Apply the same to the crescent cut-outs from Step 2.


Result from Step 5


Step 6: Use a hot glue gun, glue a trim of ribbon around the bowl and on the head of the Turkey. At the same time, glue the turkey tail and front piece to the bowl.

Tada! This is the end product! If you prefer, decorate the tail with sequins too but this step is optional. :)


Xyron products used:
- Xyron 2.5" Sticker Maker
- Xyron Mega Runner

Thank you for visiting my blog, I hope you have a wonderful day!

DIY Coupon Organizer/Holder

Friday, November 14, 2014
Good day everyone! It’s Alexia here today to share a project created using Craftwell dies with you! The memory and lifestyle collections dies are so beautiful and perfect for all sort of paper crafting projects! I like the tabs and the title sentiments, they are so cute! So I created this coupon/gift card organizer to help keep my coupons and gift cards organized. If you shop regularly this will come in handy! You can also use this for other purposes such as recipe card holder, use the tabs/dividers as category separator.

Here is the front of the folder, love the cut-out embellishments from the dies.
And here is the inside, look at those tabs! Aren't they looking fabulous?!


If you wish to have one of this, I have a tutorial on how to make it below.

Tutorial starts here:

Step 1: Prepare a 12 x 12 card stock, score all lines in black and discard bottom section


Step 2: Cut scored card stock in step 1 to picture shown below:


Step 3: Score card stock (the blue lines) as shown in picture below and remove the sections in red, fold scored lines.


Step 4: Cut three card stocks at 3.75 (H) x 6.75” (L) and two card stocks at 3.25 (H) x 6.75” (L)


Step 5: Apply adhesives on the back of the card stock pieces from Step 4

Step 6: Adhere card stock pieces to the folder which is the result from Step 3.

Adhere the shorter card stock pieces in the front of the folder such as following:

Step 7: Start embellishing! Run Teresa Collins’ Craftwell dies through the Cut n’ Boss machine and embellish the folder


Step 8: To make the fasteners for the folder, insert a 12” long twine into the button, make a knot. Using a hot glue gun, glue the button to the opening/closing flap of the folder.


I use another bow button from Prima, glue half way into the punched hole on the back of the folder. If you use a regular button, you do not need to punch a hole, simply glue down on the folder (make sure there is enough room around button when you fastening it with the twine.

That’s it! Now you have a handy coupon organizer of your own! Oh yes, I also embellished the sides with lace ribbons, this step is optional though. 

I hope you like this project as much as I do! Thank you for visiting my blog today, truly appreciate your time! 

Auto Post Signature

Auto Post  Signature