
It's snowing as I'm typing this, love the snow in the winter although I don't like the cold. I know, it's so ironic! The project I'm sharing today is also something to do with snowflakes, it's birthday invitation for those who born in the winter! I will also share a tutorial and the invitation template for you to create this winter themed invitation! Check out the free file for download at the end of this post.
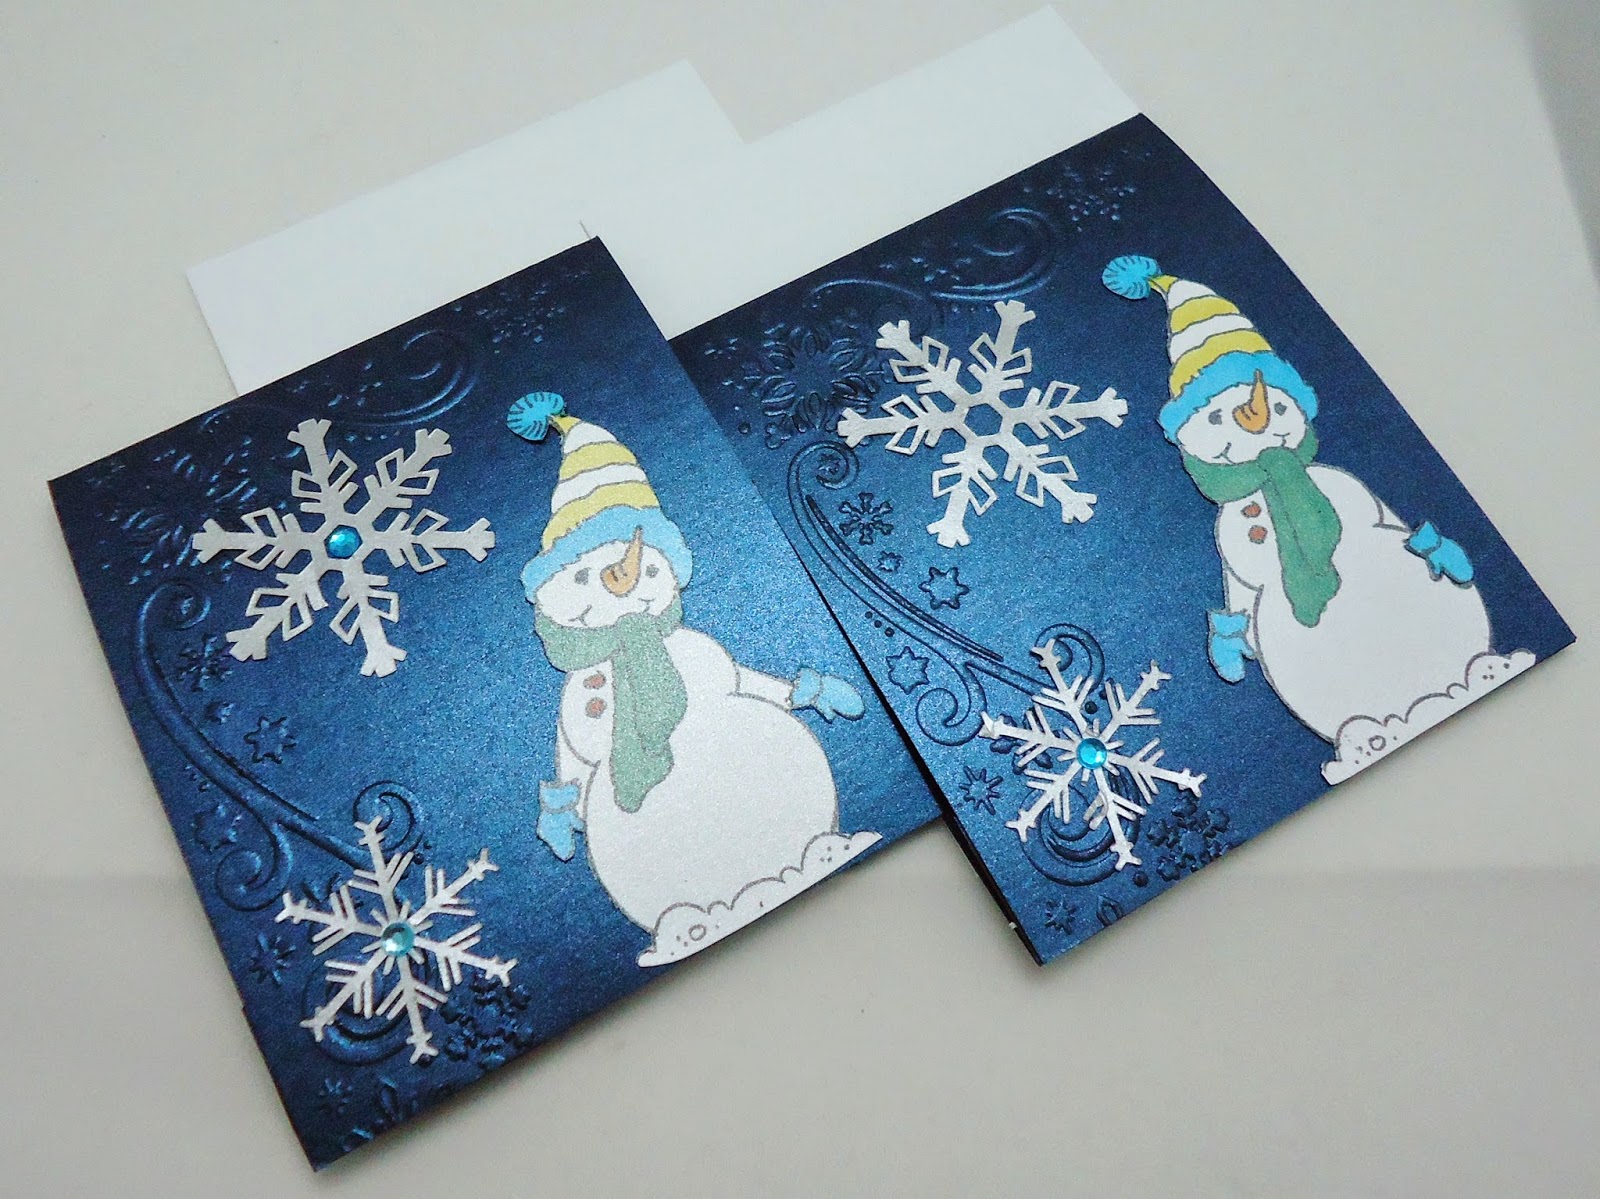
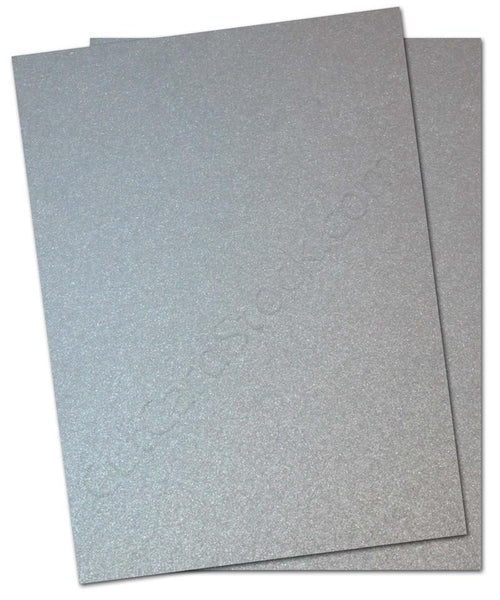
So here it is, birthday invitation created using Stardream Metallics card stocks. I'm so in love with the shininess of the card stock, it's perfect for making any kind of invitations because it looks so elegant. For this invitation I used Sapphire (blue), Silver and Crystal (white) card stocks.

This is the inside of the invitation, I also used the magnetic tape for the opening/closing flaps.

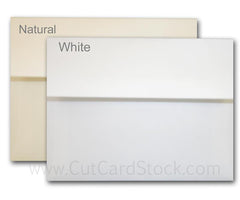
Envelopes from CutCardStock which is the perfect size for this invitation card. Now they are ready to go out in the mail!
Step by step tutorial on creating this invitation card:
Step 1: Download the SVG file and the template word document. Cut svg file (for cameo users only) and print the word document.
Step 2: Trim 8-1/2" x 11" size of card stock in half vertically (should result in size 4-1/4" x 5-1/2"). Run the card through Big Shot using Darice embossing folder, you can use any embossing pattern that you prefer.

Step 3: Score embossed card at 5"and 10" as shown below, leaving an inch for the magnetic tape. The magnetic area also servers as card stand.You can actually make it without using magnetic tape, then you will have to score once at 5-1/2" like you would when making a regular card.


Step 5; These are the cut out shapes and printed invitations, adhere to card and embellish card with cut-out snowflakes. Note: I also cut out a Silver Stardream Metallics square and use it as mat for the printed invitation.

Step 6: Adhere RSVP circle above to the center of the cut-out snowflakes, then adhere the snowflakes to the card.

Step 7: Embellish card with blings and stamped image (I embellish mine with stamped snowman and colored them with Spectrum markers).

I hope you like the project I shared today, to download the files click each link below.
Download SVG file HERE
Download Invitation Template HERE
While you are here, don't forget to check out the sale that is going on at CutCardStock! This includes the blank invitation cards and more, see HERE.
CutCardStock Products Used:


Thank you again for visiting CutCardStock blog today, I hope you have a wonderful day! Happy Creating!


Beautifully done Alexia! I love the colors and cute snowman! Enjoy the snow and be safe!
ReplyDelete