Are you always looking for organization ideas for your craft room? You have came to the right place! I created this desktop organizer for my son because we have limited space and all his color pencils, crayons, markers are always scattered all over the table (not to mention my craft stuffs too!). As soon as I finished this project, I know I definitely could use another one. So yeah more project and this time my son will help me out (he offered help when I made this first one but since I was at the stage gluing them together with hot glue I didn't let him).
So here are pictures for the finished project:
What you will need:
- Card boards
- Craft Knife
- Ruler
- Scissor
- Strong adhesives
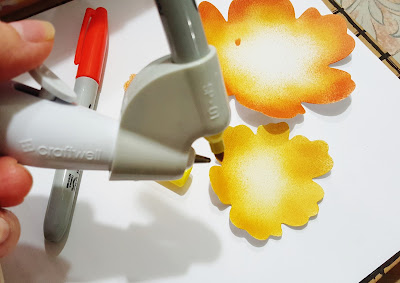
- Hot Glue Gun
- Patterned Papers
- Craftwell Cut 'n' Boss Machine
- Craftwell eBrush Machine
- Craftwell Teresa Collins Metal Dies - A girl's best friend
- Hazel and Ruby Stencils
- Sharpie Color Markers (Gold)
- Gold Foil Card Stock
Step 1: Cut cardboard into following sizes and wrap and glue pattern papers around each of them.
Step 3: Assemble cardboard pieces from Step 1 and Step 2 together with hot glue gun, arrange the space you prefer with the cardboard dividers. After that trace the shape of the sides (that looks like a staircase design) and cut the shape out.
Spacing details:
- Second cardboard from the back is 1 1/2" apart from the tallest cardboard (draw spacing on base cardboard)
- Third cardboard from the back is 3 3/4" apart from the tallest cardboard
- Glue front and back card boards to the base cardboard
Step 4: Use H&R stencil 'BELIEVE' and mask out the unwanted area for air-brushing. Remove masks and let dry completely.
Step 5: Die-cut with Cut 'n' Boss the word SPARKLE and star shapes in gold foil card stock. Embellish the organizer.
Here, you save some bucks by DIY this organizer and you can personalize it to the way you want it! Don't forget, you also help saving the environment by reusing those cardboard boxes you have. :) More importantly, you will have fun making it and if you make it for your little one they will appreciate your effort. My son loves it so much he keeps thanking me whenever he uses it. It's all worth it.
That's all for today, I hope you like the project and see you next time. Have a wonderful day! -Alexia


