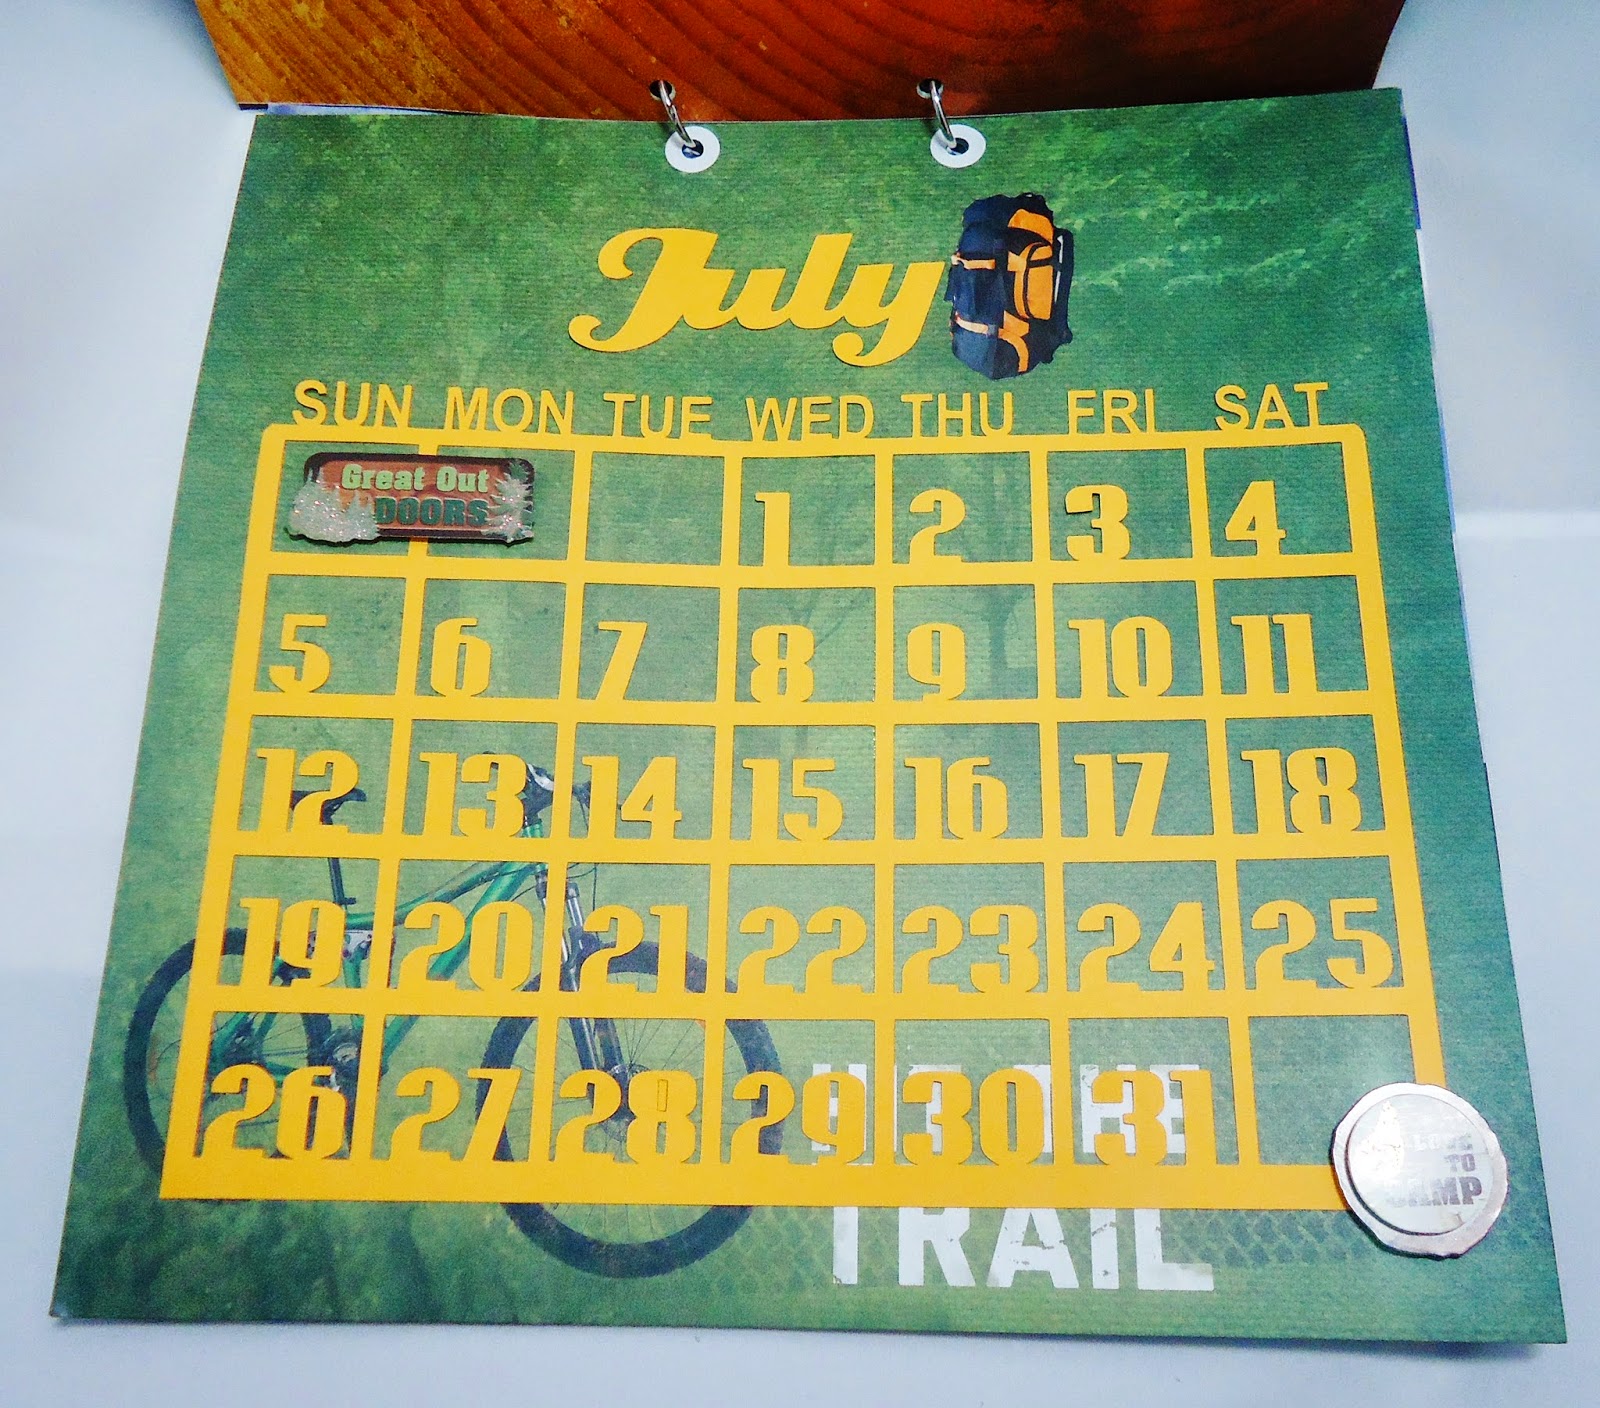
Good day everyone! Yes, you have came to the right place for Xyron and The Paper House Blog Hop! The project I want to share with you today is a Calendar for 2015! This paper collection of The Paper House is perfect for creating this, the designs of the card stocks reminded me of the pre-made calendars that are selling at the mall! Just last week my husband and I were at the mall and talking about getting one of this! Luckily we didn't because now we have a handmade one and you can customize it however you want it (embellishments, etc)!
I'm sharing a tutorial to do this too! I designed the calendar myself on my Silhouette designer software and I want to share with you today for free (please only for personal use, greatly appreciated!). Please go to the bottom of post to download the file.
Tutorial starts here:
Step 1: Download and cut the pre-designed calendar cut files. It's a single file with 12 calendar designs in it. You will need 12 card stocks, at least 8.5" x 11" in size.
Step 2: This is how it looks like, arrange the position you want the calendar to be on the patterned card stock. Adhere with Xyron double-sided tape although I highly suggest you to use Xyron 9" Creative Station if you have one, it makes your life so much easier! lol. I don't usually make a project this big so I don't have a 9" one, I should probably get one though for Just In Case! hehe.
This just to show you how I did it with Xyron 1/4" double-sided tape.
Step 3: Once you finished sticking all the calendars onto the patterned card stocks, you can now adhere the title - the month for each calendar. I cut them with my Cameo, any font text will do. Then, run them through Xyron 2.5" Sticker Maker and adhere to the top of calendar.
Step 5: Start embellishing the calendar with The Paper House Stickers and layered embellishments!
Step 6: Punch the holes on top of the calendars for file rings using Teresa Collins hole puncher.
Step 7: Apply reinforcement rings and file rings and you are done!
Here are couple shots of how each month of my calendar looks like:
For the front page, I use another patterned card stock and decorate it with some The Paper House sticker embellishments. Title is from Basic Grey alphabet stickers. If you are going to hang this calendar on the wall, simply take another single hole puncher and punch a hole at the bottom of each calendar! I hope you enjoy making your own 2015 calendar, it means so much more than some premade calendar! You can even add personal touch to the calendar such as different color for a specific date for birthdays and such. It's going to be fun!
Start making this calendar by downloading the calendar cut files
HERE. (Sorry, this is only for Cameo users only)
Products used:
Thank you so much for visiting my blog today, I hope you have a wonderful day!